New store is now open! Now I just have to add the link to like everything I have online. Worth it though. I am adding to it as I go. I have a calendar's worth of images I am drawing in Illustrator right now. I was having so much fun doing them for other people I am now doing them for me. It has been a blast working on them. So check out what is there so far, remember it is still being added too for now and I need to make a banner for it.
Pretty Pretty Pin Ups at Zazzle
There is also a box for it over on the side of the blog.

Thursday, October 20, 2011


Monday, September 12, 2011
Plaza District Festival 2011

We will be here, come by and see us and all the other wonderful artists and crafters who are going to be there! Support Local Arts and Buy Handmade!
Sunday, September 4, 2011
How to make a holder for your yarn out of a pop bottle
Hey there fellow crafters! I come bearing a small tutorial for you, it's my first one, hopefully the first of many. First a little background on this tutorial:
My grandmother was a very creative and crafty individual. She taught me and my mom a lot of what we do today. Well, back when my mom was a kid, my grandmother and her cousin came up with this idea on how to hold your yarn so it wouldn't get tangled while you were crocheting or doing some other kind of yarn work. She was a crocheting fool, my grandma. She made afghans, dolls, scarfs, doilies, all kinds of things, so it makes sense that she would come up with this: a pop bottle yarn holder.
All you need for this simple project are the following items:
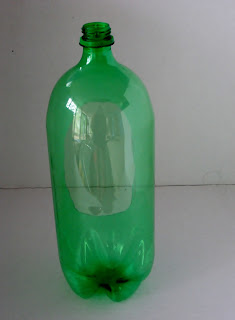

Make sure the hole is large enough to squeeze skein of yarn in but not too big because it might fall out otherwise. Basically you are done at this point, told you it was simple. Next thing you do is put your skein of yarn into the hole you just cut. Make sure you pull some of the yarn out first because you are going to thread it through the opening in the top of the bottle where the cap used to be. Once you have it threaded, put the rest of the skein in and voila! You have a nifty gadget for your yarn! It should look like this when you are finished:
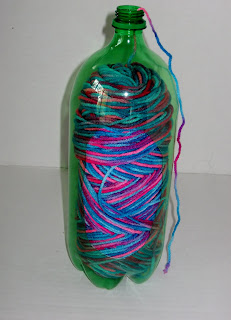

All you have to do now is start your crocheting project! My mom uses this one. She loves it. She has others as well for when she is working with more than one color at a time. Hope you all found this useful!
My grandmother was a very creative and crafty individual. She taught me and my mom a lot of what we do today. Well, back when my mom was a kid, my grandmother and her cousin came up with this idea on how to hold your yarn so it wouldn't get tangled while you were crocheting or doing some other kind of yarn work. She was a crocheting fool, my grandma. She made afghans, dolls, scarfs, doilies, all kinds of things, so it makes sense that she would come up with this: a pop bottle yarn holder.
All you need for this simple project are the following items:
1 clear plastic pop bottle
1 pair of sturdy scissors
That's it! For this one, I used an empty Sprite bottle. After all the pop is gone just wash it out with a little soap and water then let it dry for a bit. Once it is dry you are going to cut an oval shaped hole into one side of the bottle like you see in the pictures below:
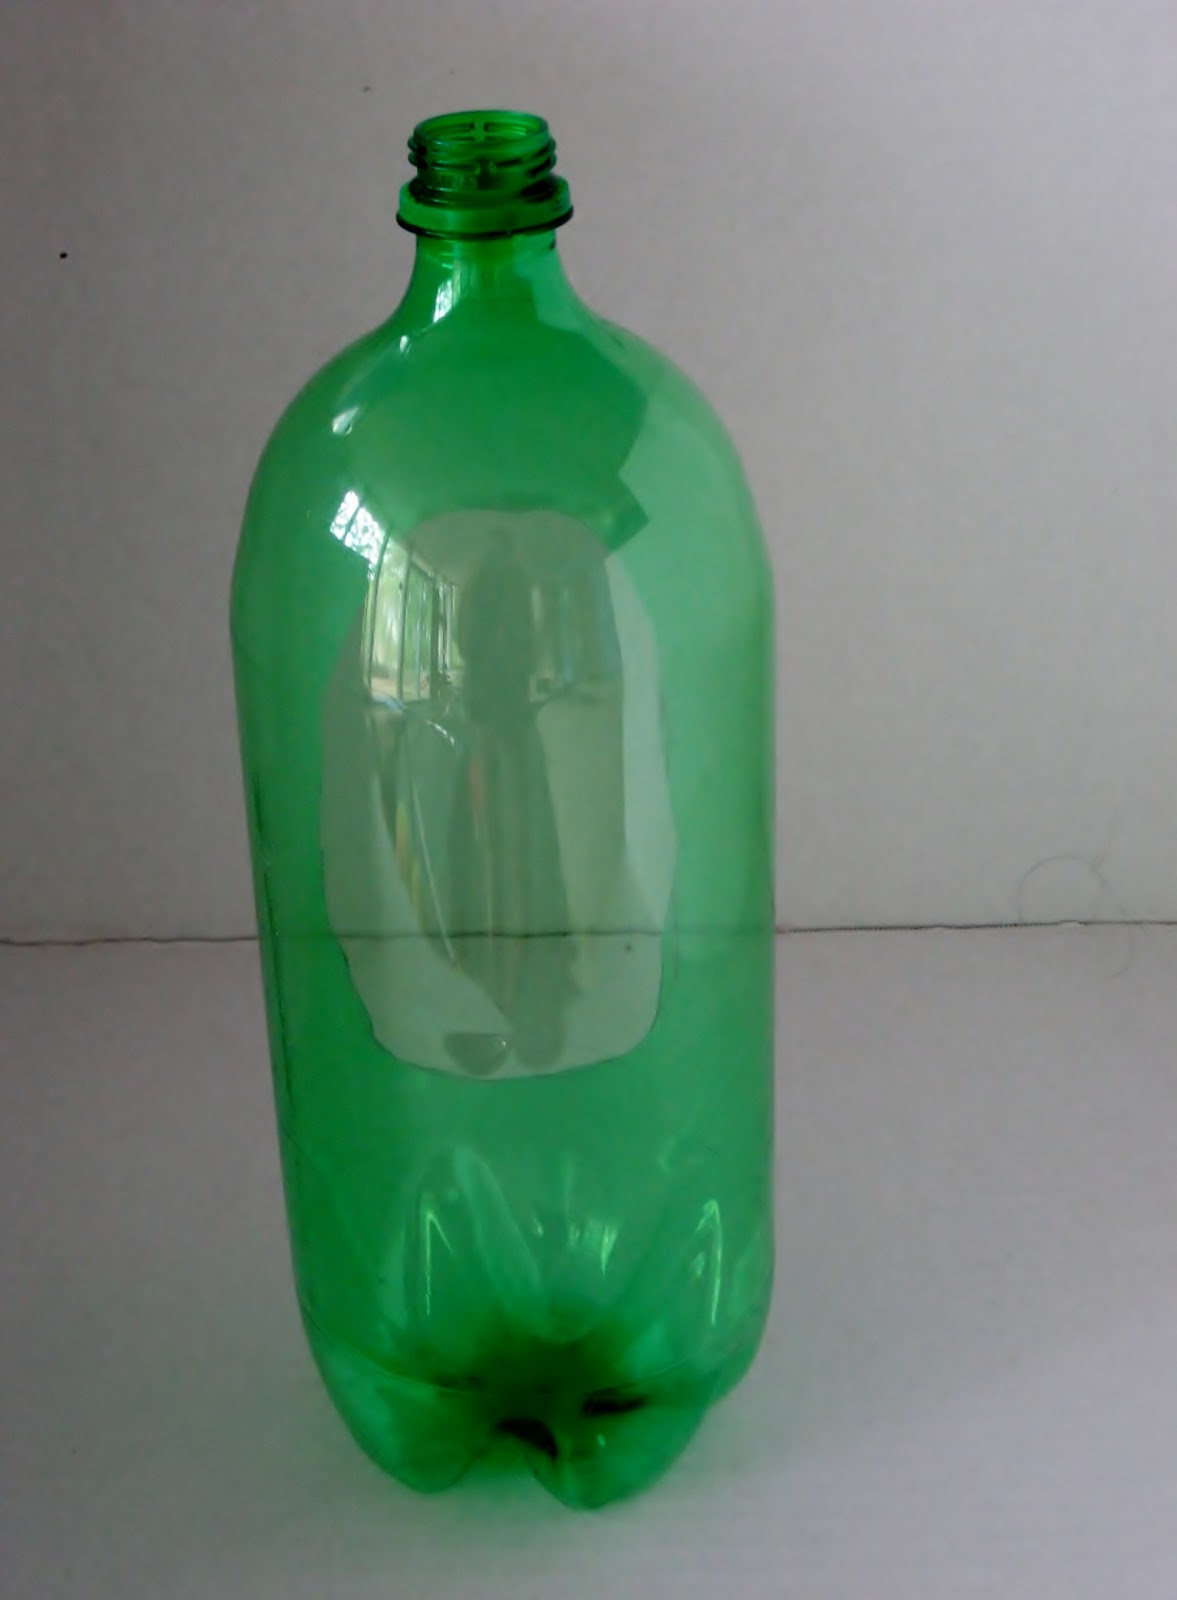

Make sure the hole is large enough to squeeze skein of yarn in but not too big because it might fall out otherwise. Basically you are done at this point, told you it was simple. Next thing you do is put your skein of yarn into the hole you just cut. Make sure you pull some of the yarn out first because you are going to thread it through the opening in the top of the bottle where the cap used to be. Once you have it threaded, put the rest of the skein in and voila! You have a nifty gadget for your yarn! It should look like this when you are finished:


All you have to do now is start your crocheting project! My mom uses this one. She loves it. She has others as well for when she is working with more than one color at a time. Hope you all found this useful!
Saturday, July 23, 2011
Art Process
Hey there everyone! Hope your summer is going well, no one has been fried like an egg or anything have they? Can not wait until this heat wave has passed. Summer is really not my favorite time of the year. It has however allowed me to get caught up on things since I refuse to go outside. I was working on a commission last night and decided to make a post out of it. I am going to share a bit of my art process with you guys. Ready, here we go!
First, I draw a sketch of what I am going to draw and then I scan it into my computer:
 It is just a quick pencil sketch done on some white paper, nothing fancy at all. So after it is all scanned in I open up Adobe Illustrator and get my layers set up. In the first layer I place the image I scanned in and lock it. I use the layers above it to draw the linework and color and shade. The next three images show you a bit of what I mean:


This takes about and hour or so to do, depending on how bad of a perfectionist I am being. It really is a lot of trial and error and finding out what works best for you. Now here is the final product after I have smoothed out lines and added shading and all that fun stuff:

First, I draw a sketch of what I am going to draw and then I scan it into my computer:


Pretty cool huh? There are a ton of tutorials out there in internet land. I learned a lot from them and also just messing around with the program. I prefer to use Adobe Illustrator to draw with instead of Photoshop. Still messing with the whole digital painting thing in Photoshop. But, this is mainly how I do most of my digital illustration stuff. Hope you like my little show and tell, I know it isn't very detailed in information but I wasn't writing a tutorial. Until next time, stay cool and try not to melt!
Author:
Kiamichi
Thursday, July 21, 2011
Blog Mention!
Disciples of Etsy: OKEtsy Featured Seller: Luksi Creations
We are being featured on the OKEtsy Blog today! Nice little interview to get to know us better. Check the rest of the blog out while you are there and get to know the rest of the team!
We are being featured on the OKEtsy Blog today! Nice little interview to get to know us better. Check the rest of the blog out while you are there and get to know the rest of the team!
Subscribe to:
Posts (Atom)
LinkWithin
